Home / Sketchbook / Planning with thumbnails
Stop 4: sepia
How do you plan a landscape with thumbnail sketches?
Before you open the paint, draw three to six very small boxes and try the view a different way in each. Two minutes apiece, three tones only. It is the cheapest ten minutes in watercolour.
The editors, 27 August 2026. About 4 minutes.
A thumbnail is a very small, very rough drawing that tries out a composition. Most of what makes a landscape work or fail is settled by a few decisions: where the horizon sits, what takes up the most space, and where the darkest dark falls. Those decisions are quick to test at matchbox size and slow to fix at A4, particularly in a medium where a mistake cannot easily be painted out.
Tate's glossary defines composition as the arrangement of elements within a work, and how an artist organises the parts so they relate well to each other and to the viewer. That can sound lofty. On a hillside it comes down to moving a tree two inches to the left, which is easy to do when the tree is a scribble.
The ten-minute routine
- Stand still first. Spend a minute looking, and name what stopped you. "The bright field under the dark wood" gives you something to protect. "Nice view" does not.
- Draw the boxes. Rule three to six boxes in the proportion of your paper, each about the size of a matchbox. Using the same shape as your page matters more than the size.
- Fill one in two minutes. Use a soft pencil and big shapes only. No gates, no sheep, no individual branches.
- Change one thing and repeat. Lower the horizon. Slide the tree. Crop in closer.
- Choose, and mark it. Put a tick by the one that still reads when you hold the page at arm's length.
If you are in a hurry, do three and stop. Even two is far better than none, because the second one is where you start making decisions rather than copying what is in front of you.
Six ways to draw the same view
Here is one imaginary scene (a hill, a tree, a pale track) rearranged six times. None of them is correct. They just lead to quite different paintings.
Notice what happens with the horizon. Set it high, and the painting is about the land, with its fields and track. Set it low, and it is about the sky, which is a tempting choice on a big, changeable British day. Put it dead centre, and the picture splits into two halves that argue. Moving it even slightly off centre usually helps, and that is about all the "rule of thirds" amounts to: a useful nudge, with no authority over your own eyes.
Think in three tones
Forget colour at this stage. Give each big shape one of three values: the white of the paper, a mid-tone made with the side of the pencil, and a dark made with some pressure. If the thumbnail makes sense in those three, the painting is likely to hold together whatever colours you use.
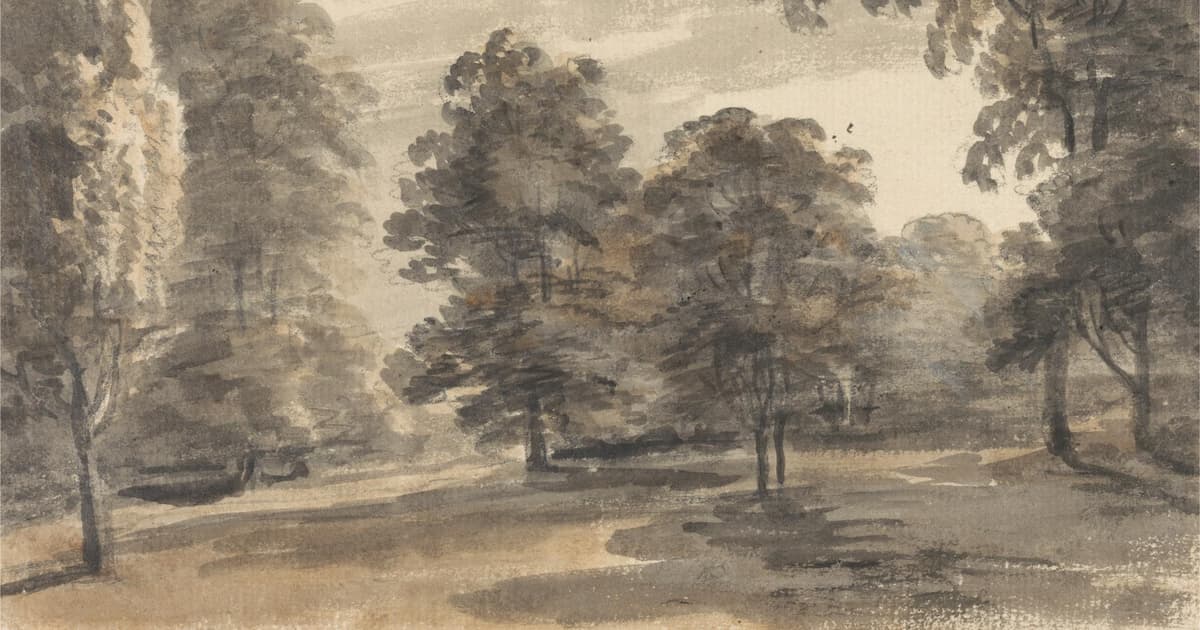
William Pars's wash drawing at the top of this page is a good example of how far this goes. It has barely any colour, yet the trees separate clearly from each other and from the sky, because each sits at a distinct value. The light gap between the trunks is what pulls your eye into the glade.
Three questions help when a thumbnail feels muddled:
- Can you find the single lightest area without hunting for it?
- Is the darkest dark next to it, or lost in a corner?
- Do you have one large shape, one medium and some small, or have you made everything the same size?
Write on it
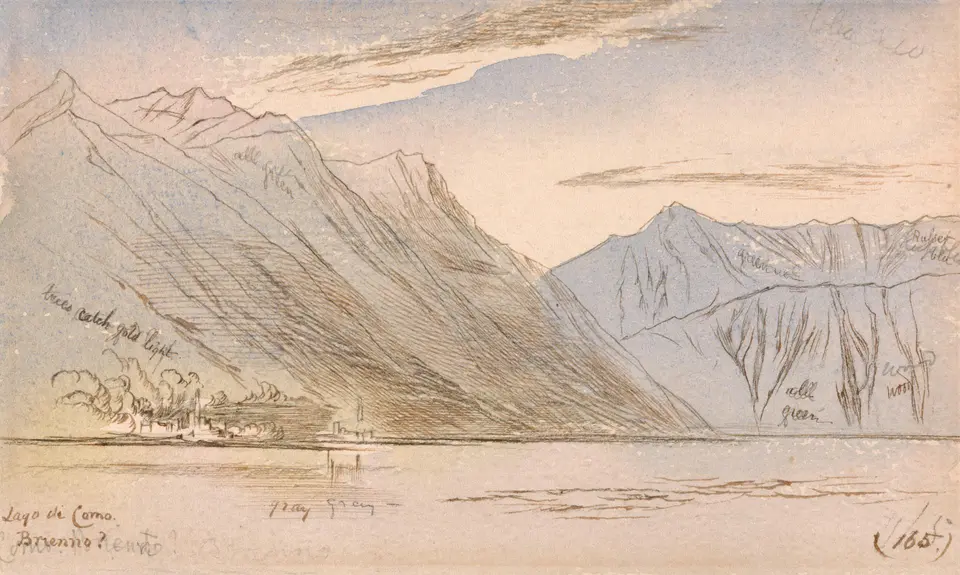

Sketches are working documents, and there is a long tradition of treating them as such. Edward Lear's view of Lake Como, above, is covered in quick drawn lines with handwriting running across the sheet. Do the same. Note the time, the direction of the light, and anything you will forget: "field brighter than sky", "cows gone by 3". Those few words often prove more useful than the drawing when you come back to a sketch weeks later.
Turner offers a further reassurance. The V&A's notes on his Tintern Abbey watercolour say that he made over 10,000 pencil sketches on his tours and rarely painted in watercolour straight from the subject, on the grounds that he could get "15 or 16 pencil sketches to one coloured". For one of the great careers in the medium, drawing on the spot was much of the job, so you need not treat it as a warm-up.
From the box to the page
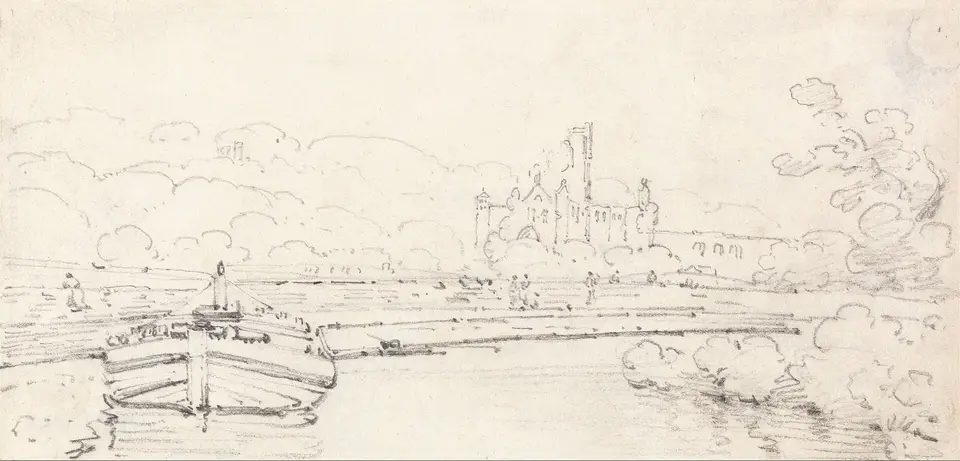

Girtin's pencil outline of Kirkstall Abbey, above, shows how little you need to carry across. When you have chosen a thumbnail, transfer it to your good paper with three or four light lines: the horizon, the top of the hill, the edge of the big tree, and perhaps the track. Divide both the thumbnail and the page into halves if you need help keeping things in proportion. Do not redraw every detail, or you will end up colouring in a drawing.
Then keep the thumbnail in view while you paint. The scene will change as the light moves, sometimes within minutes, and the small drawing tells you what you decided before the clouds confused you. When the sun comes out and every shadow swings round, stick to your plan.
Where this leads next
A thumbnail with clear tones makes the colour stage far easier. You already know which areas are pale enough to go in first, and you can then work out your greens and your distant ridges against a plan. All you need is the pencil from your kit, and on some days, that is all you need to carry.